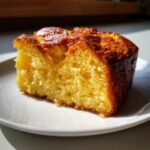
5 Easy and Yummy No Fail Baking Recipes
Oh, you guys, baking at home? It’s seriously my happy place! There’s just something so comforting about the smell of something delicious wafting through the house, you know? And the best part? You don’t have to be a professional pastry chef to whip up something amazing. That’s why I’m SO excited to share my secrets for the *best* **no fail baking recipes for home cooks**! These are the recipes that’ll make you feel like a baking superstar, even if you’re a total beginner. I’ve been baking since I was a little kid helping my grandma, and trust me, I’ve learned a *thing or two* about what works (and what definitely doesn’t!).
Essential Ingredients for No Fail Baking Recipes for Home Cooks
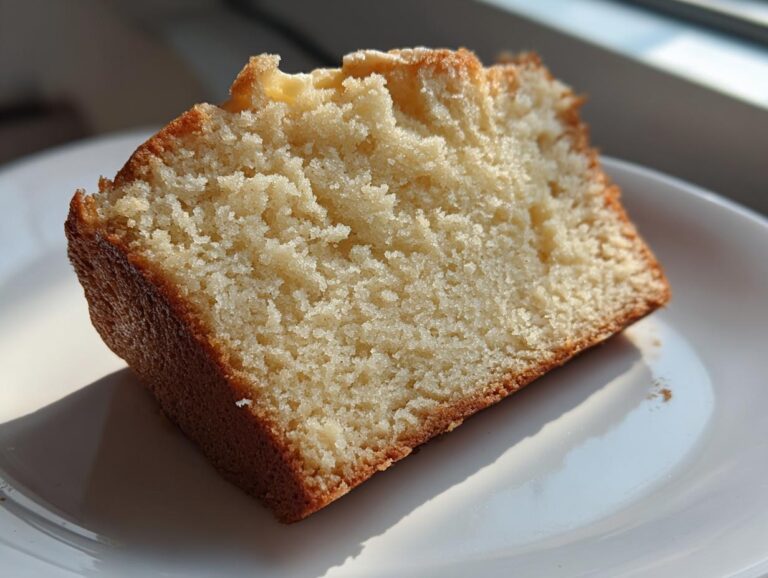
Okay, so, first things first: the ingredients! You know, it all starts there. For these **no fail baking recipes**, you’ll need a few basics, and I *always* have these in my pantry. First up: All-purpose flour – I usually use about 3 cups, but always check the recipe! Then, granulated sugar – roughly 1 to 2 cups, depending on how sweet you like things. Next, you’ll need about 3 or 4 large eggs – and make sure they’re fresh! Don’t forget the unsalted butter, softened, about 1 cup. And finally, whole milk, maybe a cup or so. Trust me, having the right stuff makes all the difference.
Equipment You’ll Need for Your No Fail Baking Recipes
Alright, before we get started, we need our tools! Don’t worry, you probably already have most of this stuff. You’ll need a good set of measuring cups and spoons – accuracy is key, you guys! Also, a mixing bowl (or two!), a whisk, and a spatula. A baking pan or two, depending on what we’re making. And, of course, an oven! Oh, and don’t forget the oven mitts – safety first, always!
Step-by-Step Instructions: Mastering No Fail Baking Recipes for Home Cooks
Okay, now for the fun part: the actual baking! Don’t worry, it’s easier than you think. Just follow these steps, and you’ll be golden. Remember, these are **no fail baking recipes**, so we’re aiming for success!
Preparing Your Ingredients
First things first, let’s get organized! This is what the fancy chefs call “mise en place,” but seriously, it just means “everything in its place.” Get all your ingredients out and ready to go. Measure everything *exactly*! I know, I know, it can seem like a pain, but trust me, baking is a science. Use those measuring cups and spoons! And don’t eyeball it – I’ve learned that the hard way, haha! It really does make a difference in the end.
Mixing the Dry Ingredients
Next up, let’s get those dry ingredients all mixed up! In a big bowl, whisk together your flour and sugar. You might want to sift the flour – it helps get rid of any lumps and makes things lighter. Some people skip this, but I think it makes a huge difference, especially in cakes. If the recipe calls for any other dry ingredients, like baking soda or baking powder, toss those in now, too. Give it all a good whisk to make sure it’s evenly mixed.
Combining Wet Ingredients
Now, let’s move on to the wet stuff! In a separate bowl, crack in your eggs. Whisk them up a bit, just until the yolks and whites are combined. Then, add your melted butter and the milk. Whisk it all together until it’s nice and smooth. Make sure your butter isn’t *too* hot, or it could start cooking the eggs – yikes! You want it melted, but not scalding.
Combining Wet and Dry Ingredients
Okay, here’s where we bring it all together. Slowly pour the wet ingredients into the dry ingredients. Use a spatula to gently fold everything together. Now, here’s the *most* important tip: don’t overmix! You just want to combine everything until there are no more streaks of flour. Overmixing develops the gluten in the flour, making your baked goods tough. So, fold gently, and stop when it’s just combined. It’s so tempting to keep whisking, but resist the urge!
Baking and Cooling
Alright, time to bake! Preheat your oven to the temperature the recipe calls for – usually around 350°F (175°C). Pour your batter into your prepared pan. Bake for the time the recipe says, but keep an eye on it! You’ll know it’s done when a toothpick inserted into the center comes out clean (or with a few moist crumbs). And please be careful, it splatters! Let it cool in the pan for a few minutes before transferring it to a wire rack to cool completely. This is key for the best texture!
Tips for Success with No Fail Baking Recipes
Okay, so you’ve got the basics down, but here are some extra little nuggets of wisdom to make sure your **no fail baking recipes** are truly *no fail*! First off, READ THE RECIPE COMPLETELY before you even *think* about starting! I know, it sounds obvious, but I’ve totally skipped a step (or two!) in my excitement and had to start all over. Oops! Next, measure those ingredients *accurately*! That’s what makes the difference between a good bake and a *great* bake. And hey, don’t overmix! It’s the golden rule, seriously.
Here’s another tip: don’t open the oven door too often while baking! It lets the heat escape and can mess with the baking time and rise. Patience, my friends, patience! And finally, don’t be afraid to experiment a little! Once you get the hang of the basics, you can start tweaking things to your liking. Happy baking, everyone!
Variations on No Fail Baking Recipes for Home Cooks
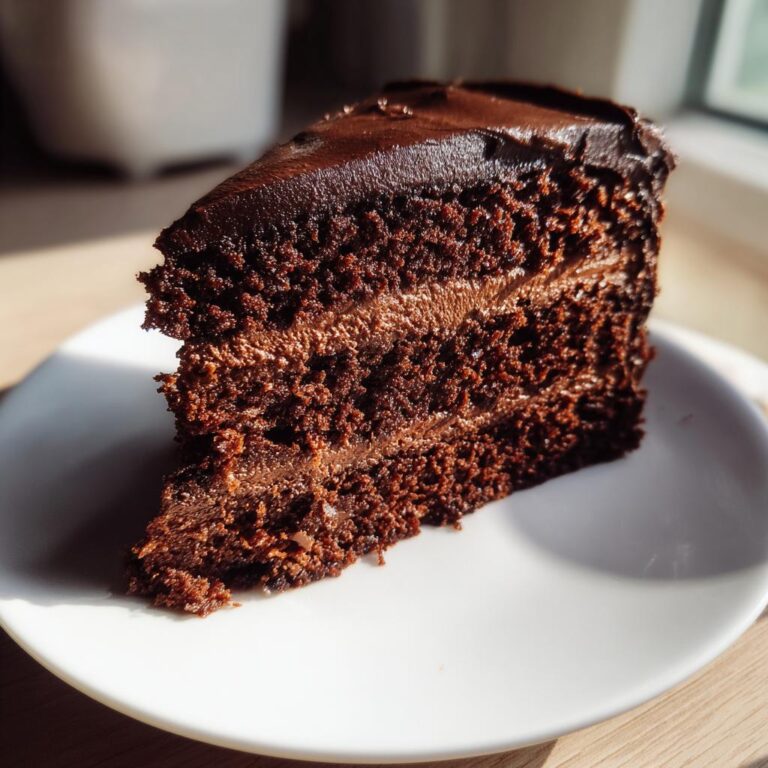
Okay, once you’ve mastered the basics of these **no fail baking recipes**, the fun *really* begins! You can totally get creative! Want a chocolate cake instead of vanilla? Just add some cocoa powder to the dry ingredients! For a lemon cake, add some lemon zest to the batter and maybe a little lemon juice to the frosting. You can swap out the milk for buttermilk for a tangier flavor, or throw in some chocolate chips or sprinkles for extra fun. Honestly, the possibilities are endless! Don’t be afraid to play around and make them your own!
Serving Suggestions for Your Delicious Baked Goods
Okay, so your masterpiece is ready – now what? Well, the best part is sharing it! Serve your baked goods warm, with a scoop of vanilla ice cream – yum! Or maybe a dollop of whipped cream? A dusting of powdered sugar is always a classic, too. And don’t forget a nice cup of coffee or tea! Honestly, anything goes – just enjoy the deliciousness!
Storage and Reheating Instructions
So, you’ve baked up something amazing, and you’ve got leftovers? Awesome! To store your baked goods, let them cool completely first. Then, pop them in an airtight container or wrap them tightly in plastic wrap or foil. They should stay fresh for a few days at room temperature. For longer storage, you can freeze them! Just wrap them well and freeze for up to a couple of months. To reheat, you can pop them in a warm oven for a few minutes, or even just microwave them for a few seconds. Easy peasy!
Frequently Asked Questions about No Fail Baking Recipes
Okay, so you’ve baked up a storm and have some questions? Totally understandable! Baking can be a little tricky sometimes, even with my **no fail baking recipes**. But don’t worry, I’ve got you covered with some of the most common questions I get. Let’s get these baking mysteries solved so you can keep on creating delicious treats!
Can I substitute ingredients in these recipes?
Ah, the age-old question! The answer is: it depends! Some substitutions are totally fine, like swapping out vanilla extract for almond extract. But others? Not so much! For example, if a recipe calls for all-purpose flour, you can’t just throw in whole wheat flour without making some changes to the wet ingredients. Always check the recipe notes for specific substitution recommendations. When in doubt, it’s best to stick to the recipe as written, especially when you’re just starting out. Trust me; I’ve learned the hard way!
How do I prevent my baked goods from sticking to the pan?
Ugh, nothing’s worse than your beautiful cake getting stuck to the pan! The best way to prevent sticking is to properly grease and flour your pan. I like to use baking spray with flour – it’s super easy! Make sure you get every nook and cranny. You can also use parchment paper. Cut a circle for the bottom of the pan, and sometimes, for bigger cakes, I’ll line the sides too. And always let your baked goods cool in the pan for a few minutes before trying to remove them. This is one of my favorite **baking tips**!
Why did my baked goods turn out dry?
Dry baked goods are the worst, right? Okay, there are a few reasons why this might happen. First, you might have overbaked them. Keep an eye on the baking time, and always check for doneness with a toothpick. Also, make sure you’re measuring your ingredients correctly. Too much flour can definitely dry things out. And, maybe you overmixed the batter, which can develop the gluten and make things tough. Finally, make sure you’re storing them properly in an airtight container to keep them moist. Don’t worry, you’ll get it!
Estimated Nutritional Information
Okay, so, you’re probably wondering about the nutrition facts, right? I’ll try to find an estimate for you! We’re talking calories, fat, protein, carbs… the whole shebang. Just remember, this is an estimate!
Print5 Easy and Yummy No Fail Baking Recipes
Simple baking recipes perfect for home cooks, designed for success.
- Prep Time: 15 minutes
- Cook Time: 30 minutes
- Total Time: 45 minutes
- Yield: 12 servings
- Category: Dessert
- Method: Baking
- Cuisine: American
- Diet: Vegetarian
Ingredients
- Flour
- Sugar
- Eggs
- Butter
- Milk
Instructions
- Preheat oven.
- Mix dry ingredients.
- Combine wet ingredients.
- Combine wet and dry.
- Bake until done.
Notes
- Read the recipe fully.
- Measure ingredients accurately.
- Don’t overmix.
Nutrition
- Serving Size: 1 slice
- Calories: 250
- Sugar: 20g
- Sodium: 100mg
- Fat: 10g
- Saturated Fat: 5g
- Unsaturated Fat: 3g
- Trans Fat: 0g
- Carbohydrates: 35g
- Fiber: 2g
- Protein: 3g
- Cholesterol: 50mg